How to update placeholder properties within SmartHost to reflect the details of your new property
When a new property joins your management program let us know. We will add a Placeholder Property to the system that you can customize. If you have a property in SmartHost that you no longer manage, you can repurpose it by updating it with all of the relevant details.
Steps to remember:
- Add SmartHost to your new property implementation checklist
- Update Property Information, communications, and calendar integration in SmartHost
- Dispatch someone to install a SmartHost device in the new property
Step 1: Select Property
Select a property that you would like to update to reflect the details of the new property joining your management program.
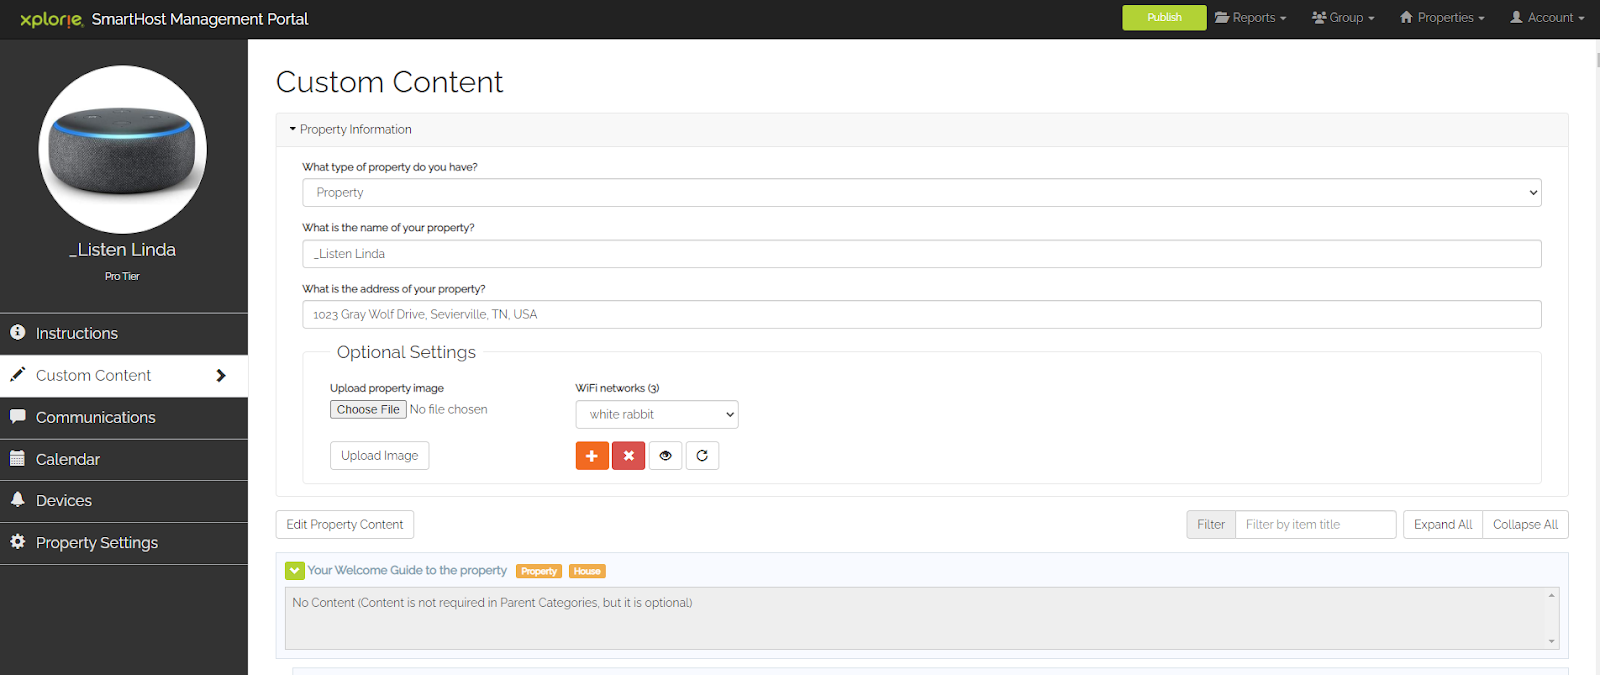
Step 2: Edit Property
Within the Custom Content interface of your selected property, edit Property Information.
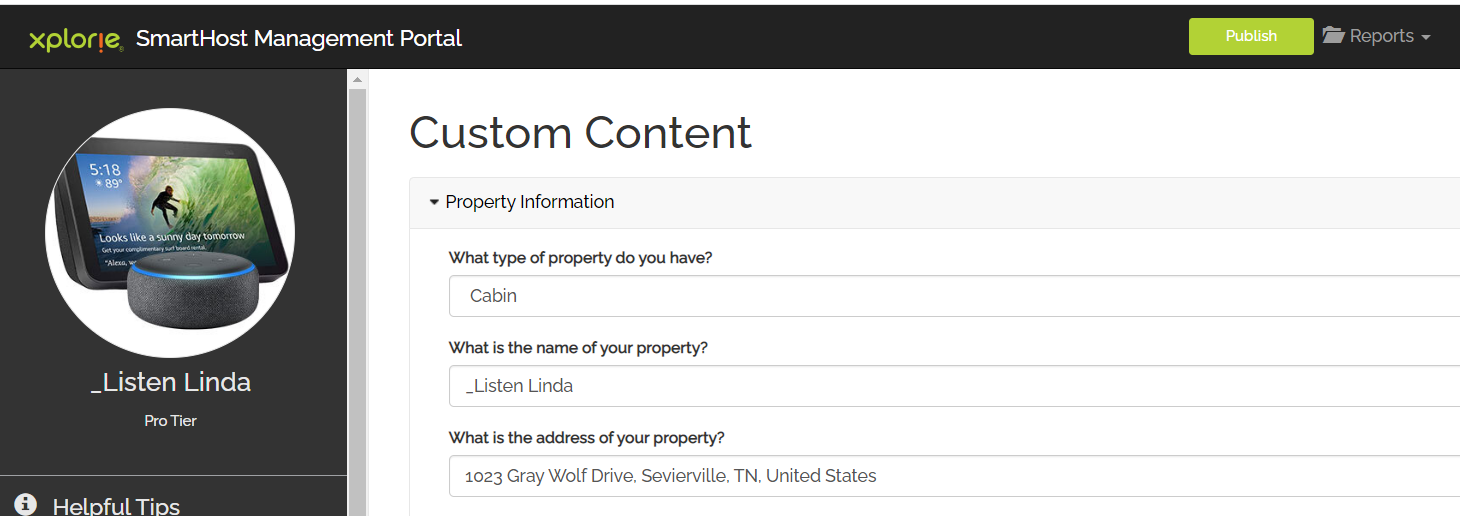
- Property Information needs the following updates:
- Property Type
- Property Name (use identical naming convention used in your management software)
- Property Address
- Publish updates by selecting green Publish button on the top menu bar

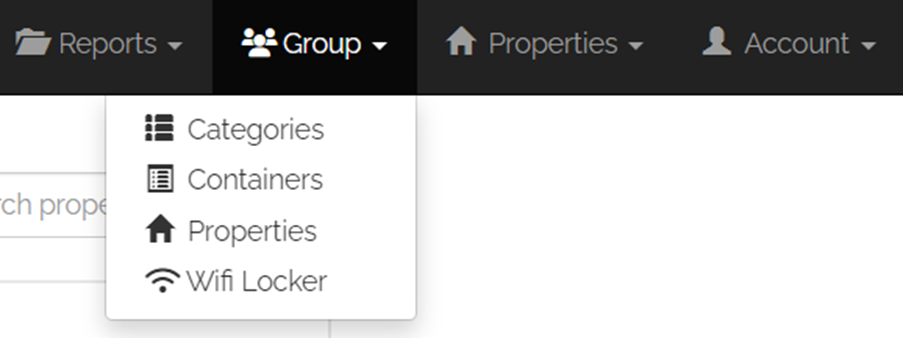
Step 3: Category Association
Select Category to associate to your new property
(Disregard if appropriate category is already associated to the property)
- Main Menu > Group > Properties
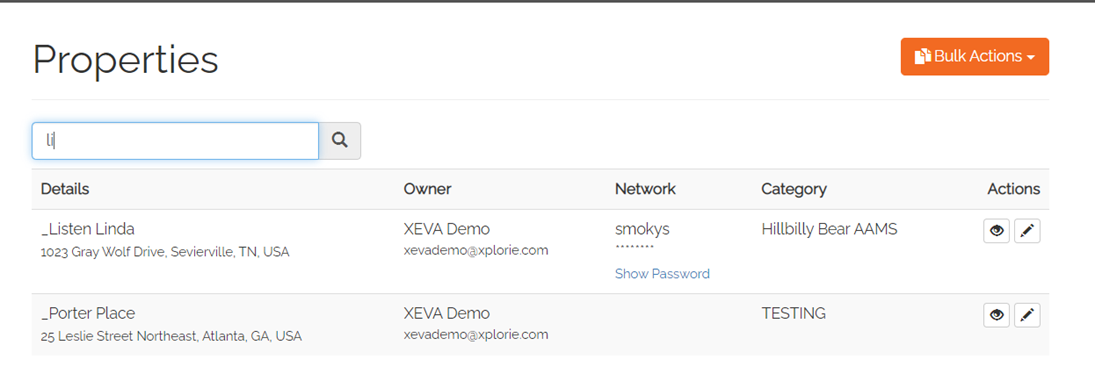
- Select the new Property Name
- Select Edit (Pencil Icon)

- Use drop-down menu to select appropriate Category then Save

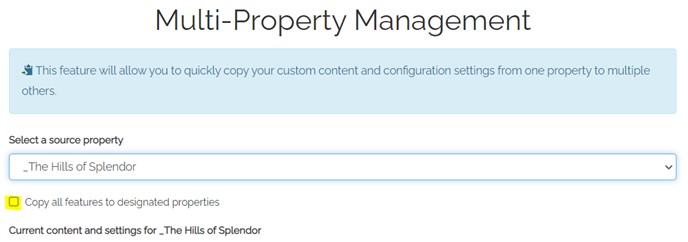
Step 4: Multi-Property Management
Use Multi-Property Management to duplicate, Custom Content, Communication Preferences, and Calendar Integration
1. Main Menu > Group > Multi-Property Management
a. Select a property you would like to use as a source property to duplicate
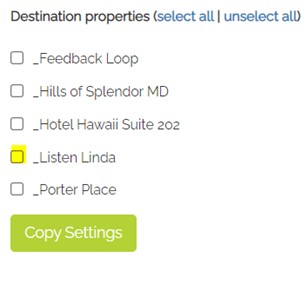
b. Select 'Copy all features to designated properties' checkbox
c. Select the New Property name that will be the destination property for duplicated details
Step 5: Custom Content Updates
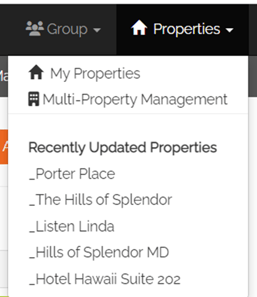
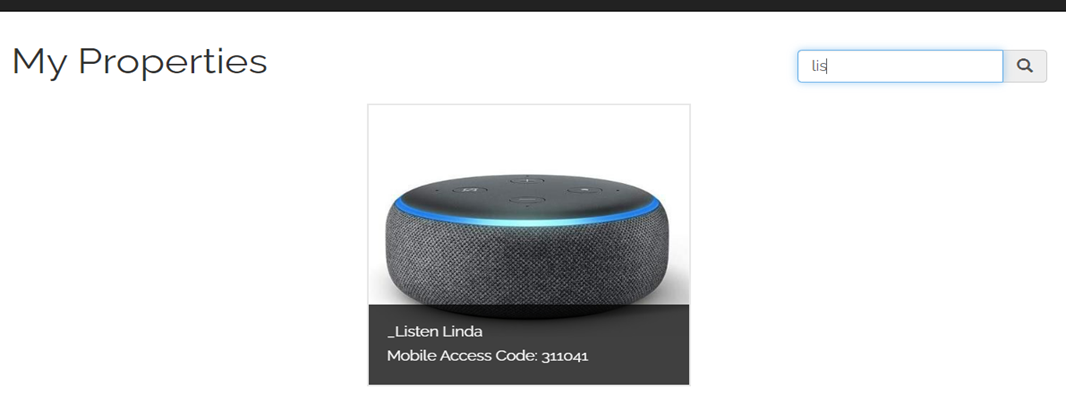
Return to Custom Content for new property. (Multiple ways of accessing custom content) One example:
- Main Menu > Properties> My Property
- Search New Property Name
- Select appropriate image
-
- Select “Edit Property Content” button.
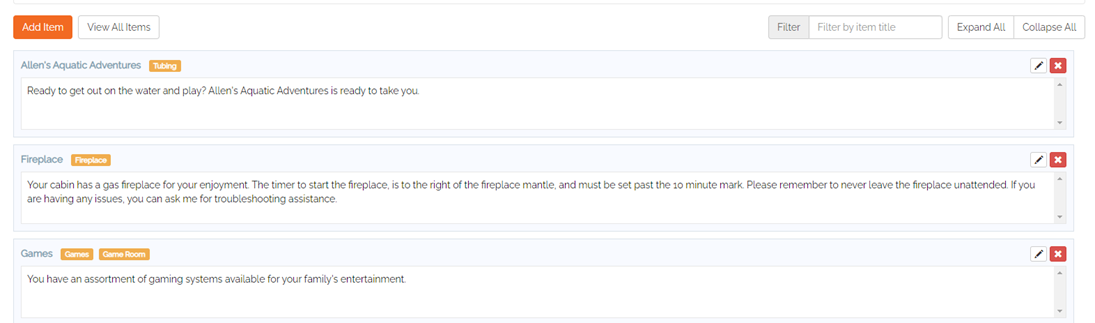
- After selection, property specific Content Items will appear and enable the ability to add, edit and delete property Content Items. Edit content accordingly.
You have now updated your property information, content, communication features, and calendar integration to your new property.
IMPORTANT: Remember to Publish changes. Green Button on Top Menu Bar.
You can dispatch someone to install a device in your new property.