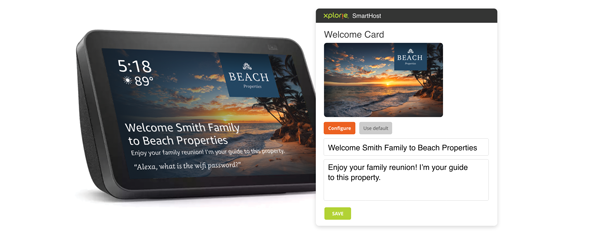
Easily create a screen with your brand and welcome message to display for guest on check-in.
Step 1 - Select a property and navigate to Calendar on the sidebar.

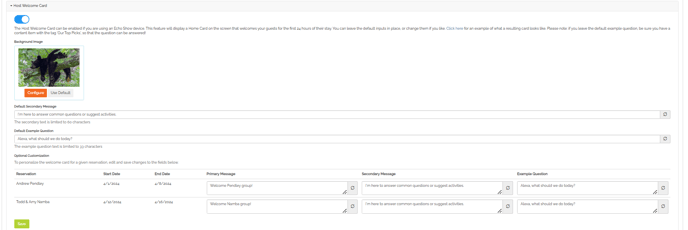
Step 2 - Set your Welcome Preferences
Toggle Host Welcome Card on. (Toggle is blue when it is enabled.)


Check box to make your card persistent. When checked it will maintain your welcome card as the only card visible for the first 24 hours of a reservation's arrival date and time or until the guest interacts with the device for the first time. The welcome card displays guest name and a button "tap to explore". After guests tap the button it will play your welcome video or message (when enabled). When Guest Sentiment Check is also enabled it will ask guest if everything was to their satisfaction, after welcome message is played.
Upload a background image to showcase your area and business.

👍 Best practice is to upload a classic area photo and add your logo to the upper right area as shown in the example above. The image should be at least 1280 x 800 pixels. Also notice how the subject matter, in this case the sun, is NOT in the lower left of the photo where it will be covered by the message to the guest. Do not put text besides your logo on your welcome screen background. It will be dimmed slightly by the device.
If you choose not to make the welcome card persistent you have other options:
Create your default guest welcome and hint text

Configuring the default welcome text suggestions
- Primary message - Already configured with default settings.
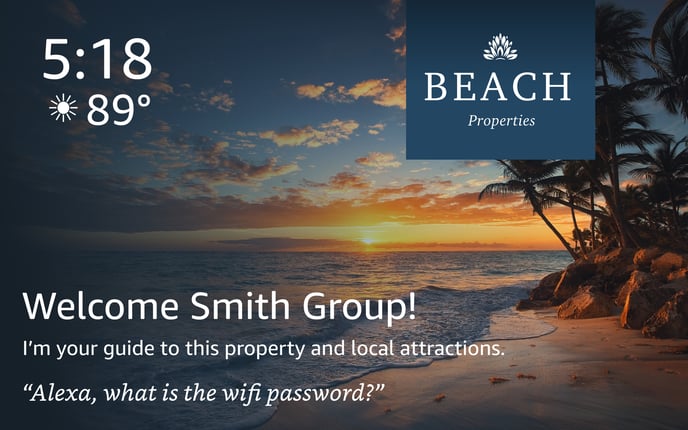
"Welcome [reservation last name] group. Example: Welcome Smith Group.
- Secondary message - I’m your guide to this property and local attractions.
- Example question - Alexa, what's the WiFi password?
You can easily change 2 and 3 (screenshot above) if you prefer a different default message for all of your guests.
Once you have your secondary message and example question, you can save your settings.
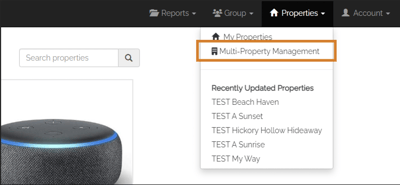
👍 Now that you have saved, you can navigate to the top menu and select, Properties, then select Multi-property management from the dropdown to apply your default settings to all of your properties.
Next time a guest checks in, they will see your branded and personalized welcome card.
Advanced Settings: Customizing welcome message by reservation
Each property will display up to 10 future reservations. You can personalize messages for individual guests.
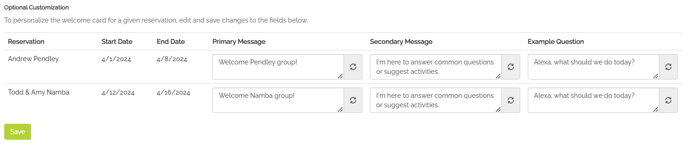
If there are reservations on the property that haven't checked in. There you can change the default messages.
Configuring a custom welcome card for a specific reservation.
- Primary message - Type your specific message overriding the default. For example, Happy Anniversary Todd & Amy Morrison!
- Secondary message - Type your specific message overriding the default. For example, Thank you for booking with Beach Properties.
- Example question - Alexa, best activities for kids?
Save your changes and the reservation you altered will show your custom message for that guest on check-in day.
Do you have questions or need assistance?
Your client success team is here to help! Contact the team at clientsuccess@xplorie.com.